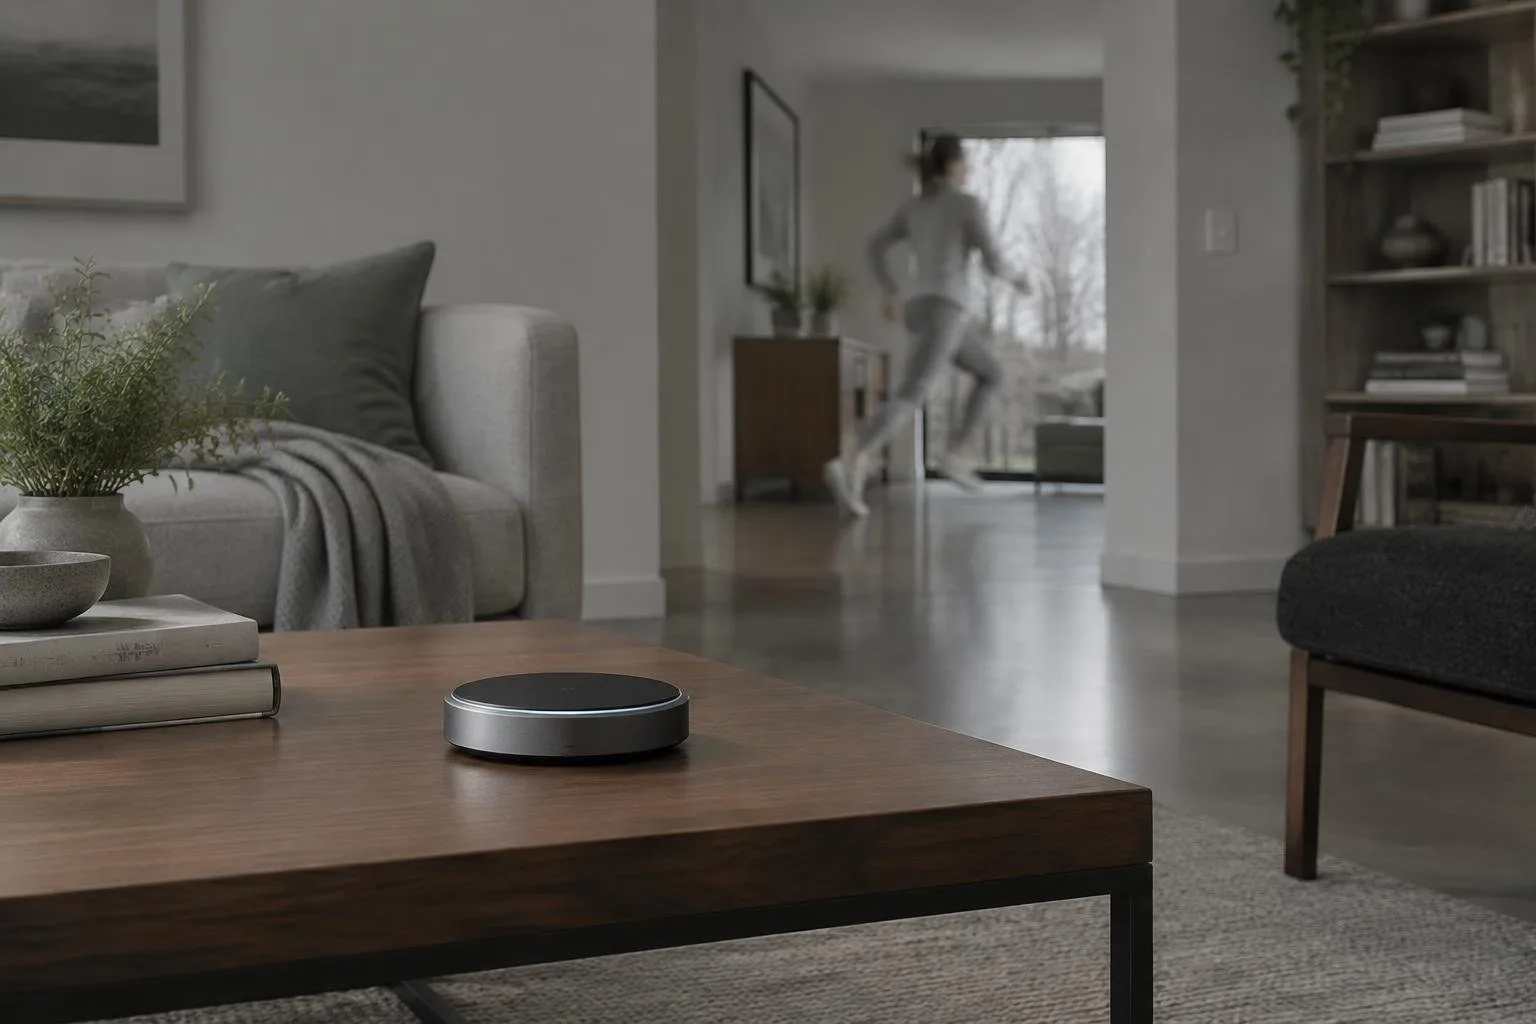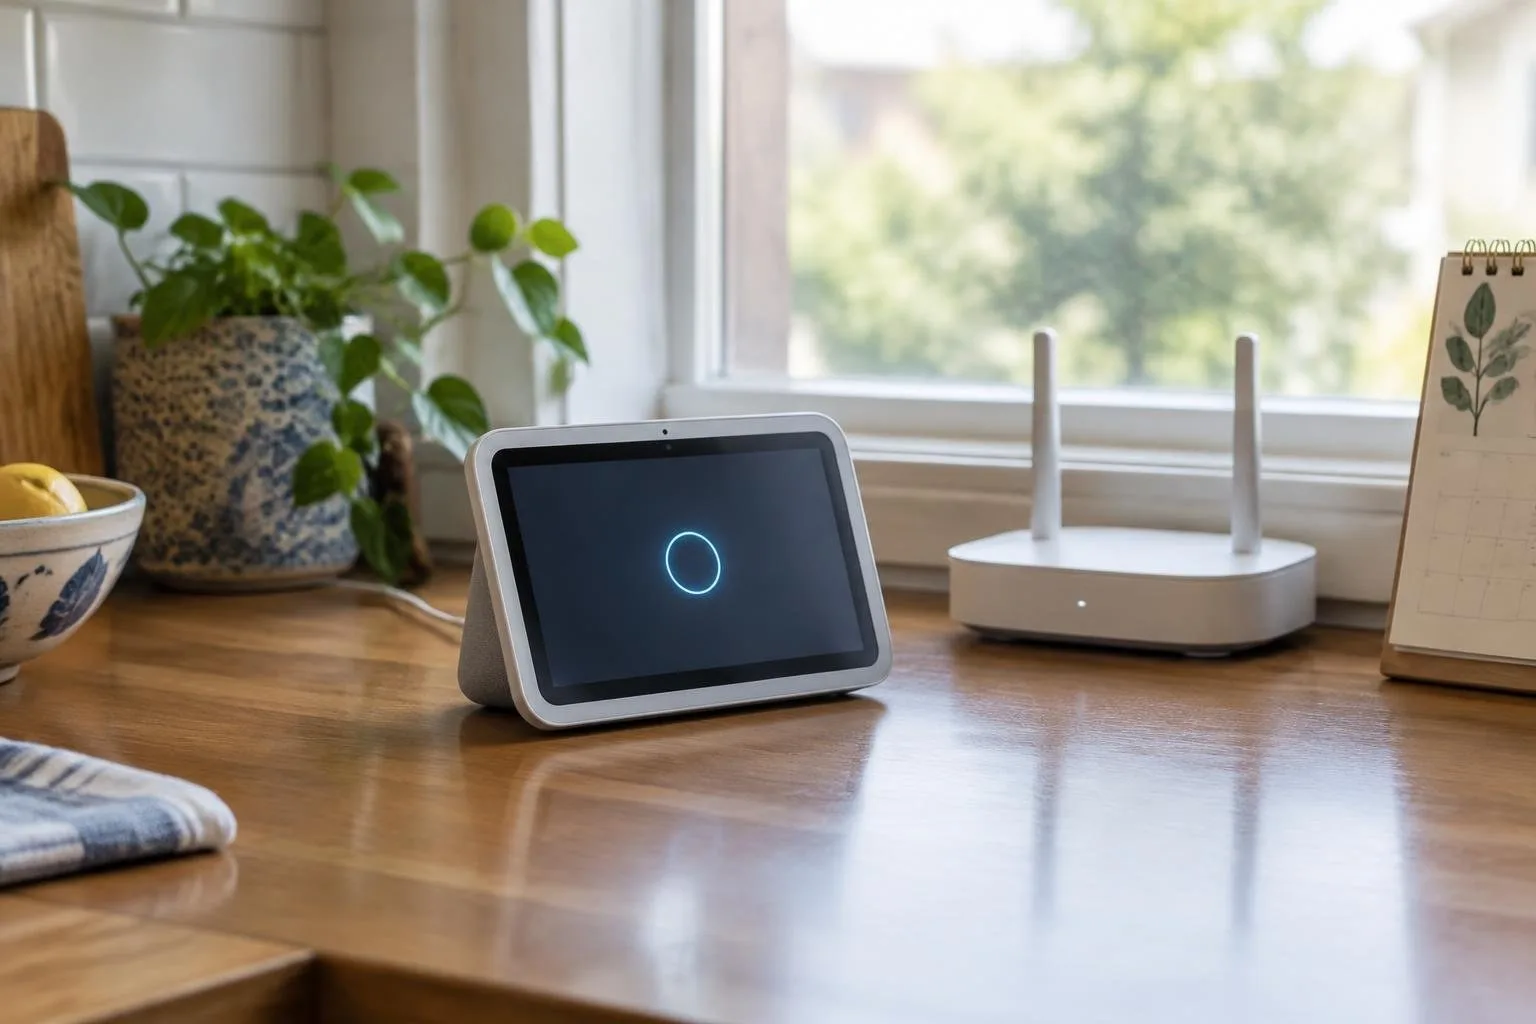
Apple’s latest addition to the HomeKit ecosystem, the HomeView smart display, arrives as a 7-inch square hub that combines a touchscreen, a built-in camera, and Siri integration. It is positioned as the central controller for compatible accessories, promising remote automation and FaceTime calls from any room. Because the device relies on the same ecosystem that powers the Apple TV and HomePod, users must follow a precise onboarding process to unlock its full potential.
This guide walks through every pre-requirement, the actual connection steps, and the most recent purchasing information. Whether you are configuring a brand-new home or adding HomeView to an existing setup, the following sections lay out the exact actions needed to avoid common hiccups.
Required software, account, and network settings
The first gatekeeper is the operating system on your iPhone or iPad. Apple states that the Home app must run on iOS 27.2 or later, or iPadOS 27 or later. Devices running older versions will not recognise the HomeView during provisioning. Log in with the Apple ID that will own the home, enable Bluetooth, and join a reliable Wi-Fi network; the display does not support cellular or Ethernet connections during initial setup.
Ownership is another crucial factor. Only the Resident (Owner) of a HomeKit home can add a new hub. Open the Home app, tap the More button, choose Home Settings, and verify that your name appears with the “Owner” label. If you have never created a home, the app walks you through the creation process and automatically assigns you the owner role, eliminating the need for a separate invitation.
Connecting HomeView to your Apple ecosystem
Start by plugging the supplied power cable and adapter into the HomeView unit. Once powered, the display shows an initial welcome screen that prompts you to hold your iPhone or iPad nearby. Keep Bluetooth and Wi-Fi active on the mobile device; the two devices will discover each other via nearby wireless signals. Follow the on-screen prompts, which guide you through selecting your home, confirming the Apple ID, and naming the hub.
During the same flow, HomeView automatically registers itself as a home hub. This designation enables remote access to HomeKit accessories, supports automations that run while you are away, and integrates with Siri for voice-controlled scenes. The process typically completes within a few minutes, after which the Home app confirms that the hub is online and ready for additional accessories.
If the setup stalls, first double-check that your device meets the software version requirement and that you are signed into the correct Apple Account. Verify that the Wi-Fi network is stable and that no firewall settings block local discovery. Apple’s full HomeView guide offers deeper troubleshooting steps, including resetting the display and re-adding it as a hub.
Pricing, colors, availability, and early impressions
HomeView launches at $299 and is offered in four finishes: silver, starlight, rose pink, and space gray. Direct orders from Apple’s online store show a backorder that stretches into the first week of December for all colors, though many physical Apple Stores list same-day pickup for silver and starlight models. Amazon currently ships space gray, starlight, and rose pink immediately, while the silver unit remains back-ordered and may sell out soon.
Early reviews, such as a week-long family test by Joanna Stern, note that the hardware feels solid, the A18 chip and a 12 MP Center Stage camera deliver crisp FaceTime video, but the integrated Siri AI occasionally falters on simple calculations. The device’s ability to act as a hub and its tight integration with other Apple products are praised, even as the voice assistant’s limitations temper enthusiasm for some users.