Argomenti trattati
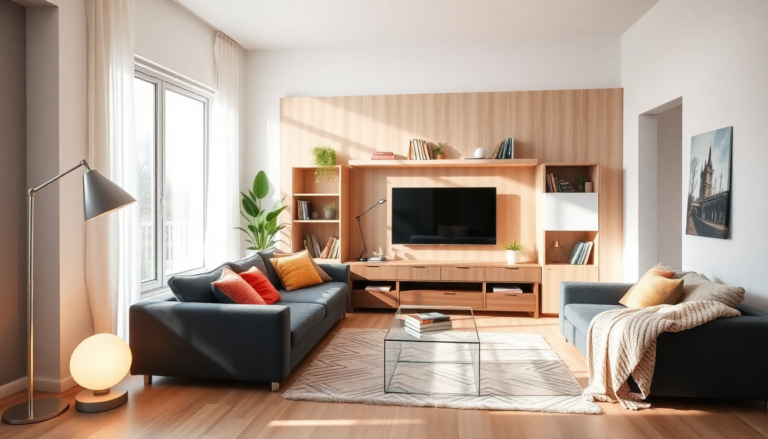
Imagine stepping into a living room and being greeted not by a bland wall dominated by a solitary television, but by a stunning focal point that draws the eye. Sounds appealing, right? With a sprinkle of creativity, you can transform that uninspiring space into something truly special. In this article, we’ll dive into an impressive DIY project that cleverly uses IKEA products to turn your TV wall into a stylish statement piece that feels tailor-made just for you.
Why DIY Home Decor is the New Trend
The DIY movement is booming, and it’s no wonder why! Homeowners are increasingly looking to personalize their spaces without breaking the bank on custom furniture. This trend not only fosters creativity, but it also encourages resourcefulness, allowing you to transform ordinary items into unique pieces of art. Enter the IKEA BESTÅ system—renowned for its flexibility and affordability, it’s the perfect starting point for your next project. This DIY hack demonstrates how thoughtful design combined with innovative techniques can revitalize your living area.
The Transformation Process: A Closer Look
Curious about the costs? This project came in at around $1,500—a small price to pay compared to custom cabinetry. It all started with meticulous planning. The creator, inspired by similar transformations, carefully measured and marked where colors would extend down the wall, ensuring the paint would seamlessly blend behind the cabinets once installed. This kind of attention to detail is essential for achieving a polished finish.
After prepping the space—protecting the television and flooring—the wall was primed and painted to match the desired aesthetic. Next came the assembly of the BESTÅ cabinets, which were adjusted to fit the room’s specific dimensions. This adaptability is one of the standout features of IKEA’s modular furniture.
Key Steps for Your DIY Implementation
Ready to roll up your sleeves? Implementing this DIY project involves several key steps that require a mix of precision and patience. First on the list: creating cutouts in the back of the cabinets for managing wires and cables efficiently. This foresight prevents future headaches and helps maintain a tidy appearance.
Next, timber strips were attached to the wall to provide solid support for the cabinets, ensuring they’re mounted securely. Once the cabinets were in place, the creator focused on crafting arches that complemented the existing crown molding, adding an element of elegance to the overall design.
With the basic structure established, slats were cut and painted to fit perfectly between the ceiling and the top of the cabinets. This small detail not only enhances visual appeal but also creates a cohesive look. Finally, the countertops were measured and cut, ensuring even spacing and alignment throughout.
Measuring Success: What to Keep an Eye On
As with any successful project, tracking key performance indicators is crucial. For this DIY adventure, the main KPIs include overall cost, time invested, and, of course, the final aesthetic achieved. Keeping tabs on these metrics not only helps you assess this project’s success but also offers insights for your future creative endeavors.
In conclusion, revitalizing a living room through DIY projects—especially with the versatile IKEA products—can be an incredibly rewarding experience. Whether you want to enhance your TV setup or create a standout feature wall, this guide lays out a clear roadmap to achieving your design goals without a hefty price tag. Remember, the beauty of DIY lies in the journey of creation, so take your time and enjoy the process as you bring your vision to life!

