
Argomenti trattati
When it comes to enhancing your living space with stylish yet affordable furniture, IKEA is a brand that many of us turn to. With a seemingly endless array of customizable options, IKEA cabinets can be transformed into stunning pieces that truly reflect your personal style. Curious about how you can elevate your IKEA furniture? Let’s dive into some creative DIY hacks that will ensure your cabinets not only serve their purpose but also add to the aesthetic charm of your home.
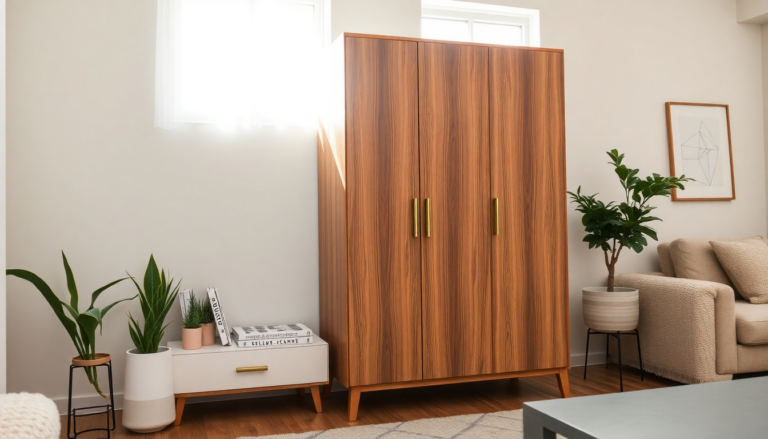
Why Choose IKEA? The Advantage of Modular Systems
IKEA’s modular systems, especially the Pax line, offer incredible versatility. Over the years, I’ve discovered countless ways to adapt these units to fit various spaces in my home. For instance, I’ve transformed the Pax system into a dream walk-in closet, a whimsical organization station for my kids, and even a chic pantry solution. The beauty lies in the customization—whether you opt for paint, wallpaper, or unique hardware, you can create a look that’s distinctly yours.
One crucial step in this transformation process is achieving a polished finish. In my experience, filling in any visible holes with spackle not only enhances the overall appearance but also gives your furniture a more refined look. Choosing spackle that doesn’t require sanding can make a world of difference, simplifying the process and allowing you to enjoy your newly designed space in no time.
Creating Functional Built-Ins with IKEA Units
Let’s be real: building custom built-ins from scratch can feel overwhelming. Thankfully, IKEA makes this task much more manageable. For example, I once created a beautiful art supply cupboard using two RAST dressers—resulting in a functional yet visually appealing solution for my children’s art materials. A key tip for achieving that seamless built-in appearance? Remove any baseboards before installation. This little maneuver can prevent the units from sticking out awkwardly, helping you maintain those clean lines you’re aiming for.
To really nail that built-in look, consider adding baseboards to the front of your dressers. Elevating the dressers on a platform ensures that the baseboard doesn’t obstruct the drawers, keeping functionality intact while enhancing the overall aesthetic. I’ve compiled detailed guidance on this and similar techniques in various DIY tutorials throughout my projects—definitely worth checking out!
Adapting IKEA Solutions to Meet Your Evolving Needs
As our families grow and change, so do our storage needs. I learned this lesson firsthand with my original mudroom lockers, which needed an upgrade to fit a more modern family lifestyle. Revisiting the IKEA Pax line, I found the perfect solution, using its variety of sizes to create new cabinets that seamlessly blend with our home’s current style. Many of the same design principles I applied in my earlier projects, such as creating a sturdy base, adding decorative trim, and ensuring a flawless paint finish, came into play here.
This experience taught me a vital lesson about adaptability in design. As our lives shift, our environments should too. Embracing the flexibility of IKEA products allows for ongoing improvement and personalization, ensuring our spaces remain both functional and stylish.
Conclusion: Your Journey with IKEA Transformations
Transforming IKEA furniture can be an incredibly rewarding adventure. It’s an opportunity to unleash your creativity while achieving a high-end look without breaking the bank. Whether you’re filling your home with custom built-ins or simply refreshing existing pieces, the possibilities are truly endless. I encourage you to share your own IKEA hacks and transformations—community exchanges like these can spark innovative ideas that inspire us all. So, what are you waiting for? Let’s get started on those transformations!