Small parts and a short tool list can add big impact to a room. Using inexpensive IKEA BLODLÖNN mirrors and narrow wood trim, you can build a polished mirror grid that brightens a space and reads like a custom piece for a fraction of the cost of a store-bought installation. One maker, Nilesh, used a 2×3 arrangement of 12″×12″ mirrors to get an upscale, symmetrical feature without expensive materials—making the whole project achievable for under $50.
This article walks through the components you need, the assembly sequence, and finishing options so you can replicate the idea or adapt it to different wall sizes. Expect a materials rundown, step-by-step cutting and joining guidance, mounting strategies, and optional enhancements such as subtle LED backlighting. Practical notes about sanding grits, adhesives, and a portable backing option are included to help avoid common pitfalls.
Materials and tools
Gather the basics before you start: six IKEA BLODLÖNN mirrors 12″×12″ (two four-packs provide the six mirrors plus extras), and two finger-jointed pine S4S boards sized 5/16″ × 11/16″ × 8’0″ for the trim. You will also need a miter saw for accurate angled cuts, a nail gun or hammer and nails for fastening, and a level and tape measure for layout. Sandpaper in 120-grit and 400-grit helps prep and finish the wood. Optionally, have construction adhesive and an LED strip ready for extra strength and lighting. Note that S4S means “surfaced on four sides,” providing a smooth ready-to-finish surface, and finger-jointed boards resist warping for cleaner frames.
Step-by-step build
Cutting and finishing the trim
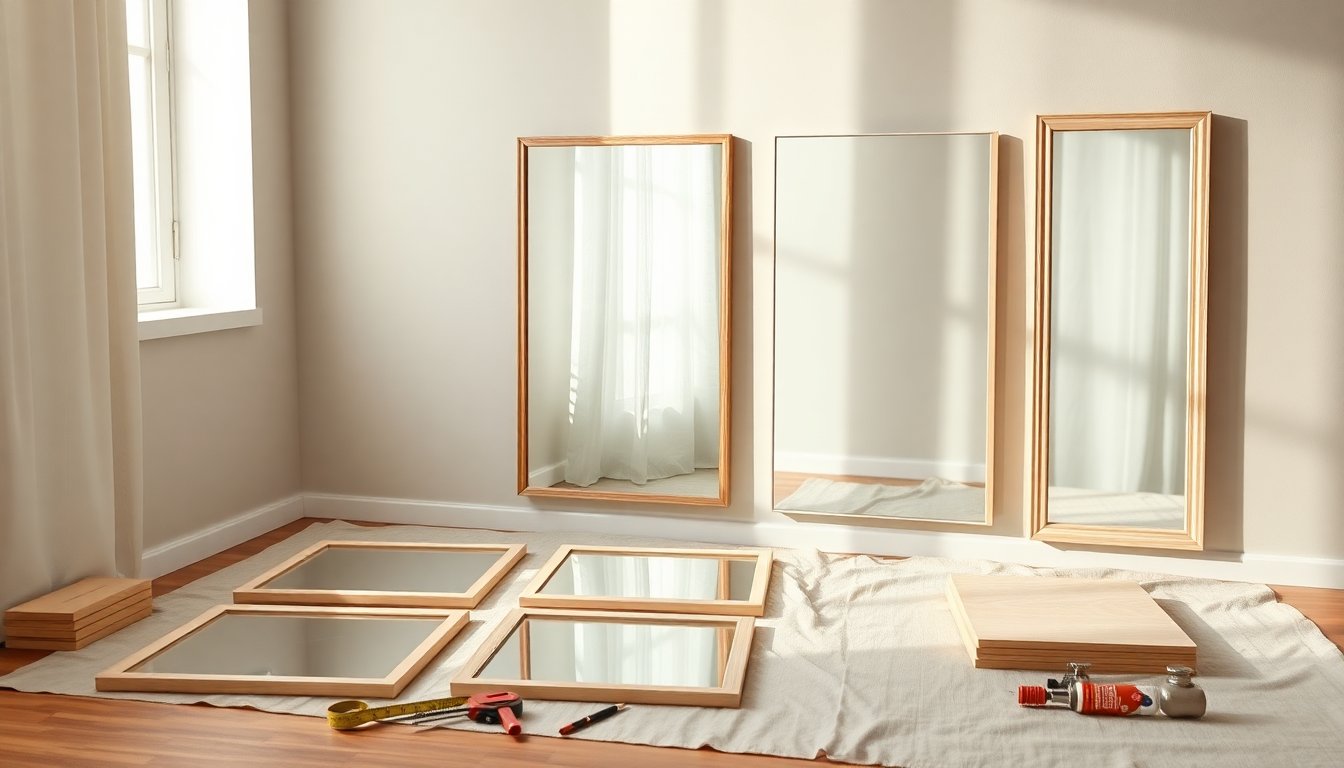
Start by measuring your intended grid footprint—Nilesh planned his layout in a 2×3 formation using a SketchUp mockup to confirm spacing. Cut the outer frame pieces with a 45-degree bevel on the miter saw so the corners meet neatly; leave the inner divider strips as straight cuts. Sand each piece first with 120-grit to smooth machinery marks, then refine with 400-grit for a silky surface. Wipe dust away and apply thin coats of your chosen stain or paint, allowing full dry time between layers. Thin, even coats reduce drips and produce a more durable finish than heavy application.
Assembling and mounting the mirror grid
Think of the install as a puzzle: attach the top trim to the wall first, using a level to ensure it sits perfectly horizontal. Work across and down—secure the left vertical trim, then position and adhere the first mirror, add the inner horizontal strip beneath it, and continue across the row. Repeat with the second and third mirrors in that column, add the bottom frame piece, then install the center vertical divider, and finally build the right column up to the top frame. Use construction adhesive behind mirrors and trim for extra bonding and follow with nails or brads for mechanical fastening. Keep checking alignment as you go; small errors compound quickly in a grid.
Finishing touches and practical tips
Lighting, portability, and damage control
A few simple tweaks take the project from good to great. Tuck an LED strip behind the frame for soft backlighting that accentuates each mirror without overwhelming the room. If you think you might move the feature later, avoid bonding directly to drywall: assemble the entire grid onto a thin sheet of plywood or MDF and hang the finished panel as a single unit. That approach prevents drywall damage and makes transportation easier. Remember that heavy adhesive can pull paint or drywall when removed, so plan accordingly.
Final recommendations
Throughout the process, keep a level handy and test-fit pieces before glue or nails. Use mock layouts on the floor or in a digital model to confirm proportions, and apply stain or paint in controlled environments to limit dust contamination. If you share your project, document measurements and fastener locations for future troubleshooting. With basic tools, inexpensive IKEA mirrors, and careful assembly, you can produce a refined, reflective focal wall that looks far more expensive than the materials cost.
Ready to try it? Gather your materials, make a simple mockup, and take your time cutting and finishing. The result is a versatile decorative element—bright, spacious, and customizable—perfect for living rooms, entryways, or behind a console table.


