
Argomenti trattati
As soon as you step through the door to your home, the first impression is everything. An organized and welcoming entryway sets the tone for the entire space. If you’ve ever walked into a chaotic hallway filled with shoes, bags, and clutter, you know how frustrating it can be. Kirsty Gore, an IKEA enthusiast and DIY designer, has found a solution that not only tidies up the space but also adds a touch of style. Her ingenious hallway bench hack showcases how to maximize functionality while maintaining a chic aesthetic in a tight entryway.
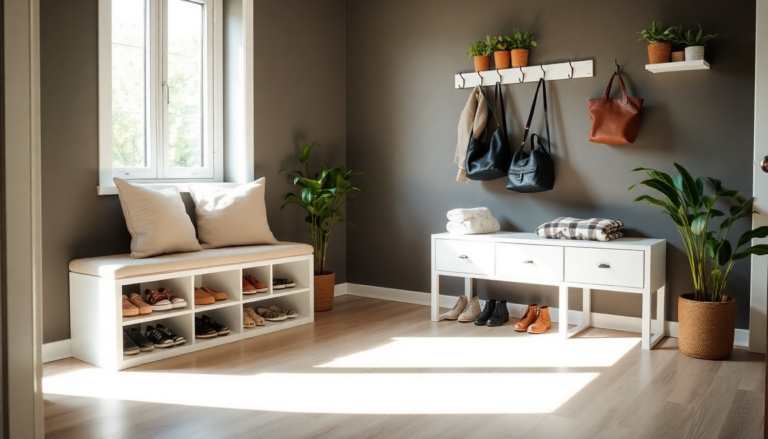
Creating a functional and stylish entryway
Kirsty’s design revolves around two key IKEA products: the TORNVIKEN hanging rod and the BESTÅ shelf unit. By combining these elements, she was able to craft a multi-functional space that serves as seating, storage, and a decorative display. The beauty of this project lies in its simplicity—no complex carpentry skills are required, just a bit of creativity and some basic tools. By following her lead, you can say goodbye to the cluttered chaos and hello to a beautifully organized entryway.
Gathering your materials
Before diving into the project, it’s crucial to gather all necessary materials. Start with the BESTÅ shelf unit and the TORNVIKEN hanging rod, both available at your local IKEA store. Kirsty also used paneling sourced from Panels by Sofia to create a custom look. This paneling will provide the backdrop for your bench and can be painted to match your decor. Additionally, you’ll need screws, a multitool for cutting, and paints or wood oils for finishing touches.
Building your space
The first step in your transformation is to assemble the BESTÅ shelf unit following IKEA’s straightforward instructions. Once you’ve set up the shelf, it’s time to position the TORNVIKEN hanging rod where you envision your bench. This rod will be the backbone of your entryway hack, dictating the overall layout. Measure your space carefully, ensuring that everything fits perfectly before securing any pieces together.
Customizing the bench
Kirsty suggests measuring and cutting the paneling to fit your entryway, making sure to account for any light switches or outlets. She cleverly used a multitool to create necessary cutouts, ensuring a seamless fit. The bench top, crafted from a pine worktop, can be left natural or painted based on your style preference. A natural finish can give it a rustic charm, while a painted surface adds a modern flair. Remember to sand between coats if you choose to paint, ensuring a smooth finish.
Finishing touches for a polished look
Once you’re satisfied with the structure, it’s time to paint and finish your pieces. Kirsty recommends using Zinsser Primer with a shellac base, known for its excellent adherence on IKEA products. This step is crucial as it not only protects the wood but also enhances the overall aesthetic. After allowing everything to dry, secure the components together, ensuring stability. A neat trick is to tuck the top of the paneling behind the shelf to conceal screws, giving a clean appearance.
Adding the final details
To elevate the design, consider adding molding around the paneling. This not only frames your work beautifully but also introduces a classic detail that adds elegance to your entryway. Use a miter saw to cut the molding accurately, attaching it once your frames for the doors are in place. Painting the trim once installed ensures a cohesive look that ties everything together.
Lighting and personal touches
For an extra touch of ambiance, Kirsty suggests adding LED light strips under the wall shelf. This creates a soft glow, highlighting your space beautifully. Rechargeable strips are available online, making this an easy addition to your project. As a final touch, consider adding a cushion to your bench for comfort. Whether you keep the wood bare or opt for a colorful cushion, both options offer charm and practicality.
The total cost of this project, including the IKEA pieces and additional supplies, typically ranges from $350 to $400. While that may seem like a hefty investment, the result is a custom, stylish entryway that looks like it was designed by a professional. An organized and aesthetically pleasing hallway can significantly enhance your home’s appeal, making it a worthy endeavor.
So, are you ready to tackle your entryway? Follow Kirsty on Instagram @kjg_home for more inspiring DIY projects and share your own IKEA hacks with us. We can’t wait to see how you transform your space!