Argomenti trattati
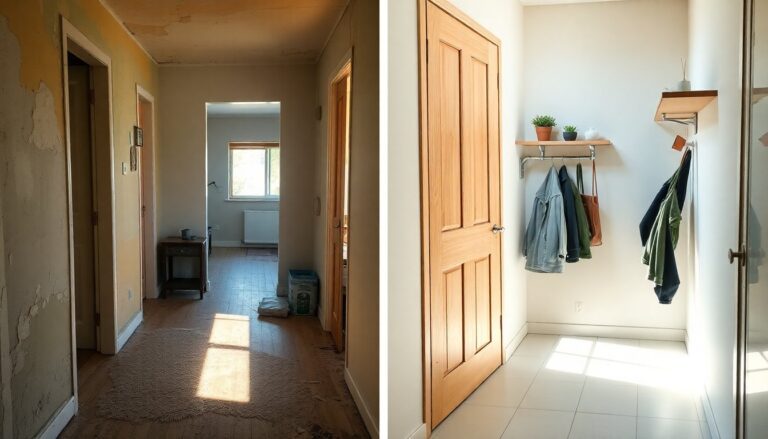
Many people have encountered the term landlord special, which often describes homes that have been rented out for years, resulting in less-than-ideal conditions. One such residence is my family’s home, characterized by layers of flooring, mismatched hardware, and an overall sense of disarray. This backdrop prompted us to embark on a renovation journey, beginning with our long-neglected hallway.
Initially, we envisioned a complete overhaul, stripping the space down to its core to address various renovations that had been executed haphazardly over the years. However, life had other plans, and our ambitious goals were sidelined for some time. After years of enduring an unsightly, half-finished doorway, I decided it was finally time to give my hallway the makeover it desperately needed, inspired by an ingenious hack from IKEA.
Utilizing IKEA cabinets for a seamless solution
After patching up the doorway, I was left with an uneven wall and an awkward gap between the laminate flooring and baseboards. It was then that the idea of incorporating IKEA’s GULLABERG shoe cabinets came to mind. These cabinets are remarkably slim, measuring less than nine inches in depth, making them ideal for narrow spaces. Moreover, they can be mounted on the wall, allowing for a clean look even when placed over baseboards.
Choosing the right configuration
Given the length of my hallway, I realized that a single GULLABERG cabinet would not suffice; it would appear out of place and fail to effectively conceal the imperfections below. To create a more cohesive aesthetic, I decided to install two cabinets side by side, simulating a single elegant unit. This was my first attempt at such a project, so I turned to Pinterest for inspiration and guidance.
After successfully connecting the cabinets, I faced a new challenge: the tops of the GULLABERG units. One option was to place the two included boards side by side and patch the seam with wood filler, followed by a coat of paint. However, this might create a slightly uneven look at the edges. Alternatively, I could craft a single custom top using either a live-edge board or a painted MDF board, which is what I ultimately chose.
Finishing touches for a polished look
With the new top securely in place, I used wood filler to smooth out any gaps between the cabinets and the wall, ensuring a professional finish. The next step was to paint the units. I opted to keep the cabinets white and utilized a color-matching service at The Home Depot to find the perfect shade for the new top, creating a seamless integration with the rest of the cabinetry.
Alternative storage options
If your space doesn’t permit two cabinets, consider a similar option from Wayfair, which offers a single unit that doubles the storage capacity with an additional drawer. The installation process remains straightforward, providing an excellent alternative.
To elevate the aesthetic of my hallway further, I decided to create a gallery wall above the cabinets featuring family photos, along with decorative elements such as an oversized faux pottery vase, candlesticks, and a catchall basket for small items like keys. I also replaced the standard gray knobs on the cabinets with brushed gold ones from Amazon, adding a touch of elegance.
A successful transformation
This simple IKEA hack has completely revitalized my once dark and cramped hallway into a functional and stylish space, providing ample storage while covering up unsightly flaws. No longer do I have to contend with an awkward hole in the flooring and baseboards. This project was not only a win for aesthetics but also for practicality.
This DIY approach demonstrates how effective IKEA hacks can be in transforming less appealing rental properties into attractive and usable spaces. The beauty of this project lies in its ability to tackle multiple issues at once — from enhancing storage to improving the overall look of the hallway. Plus, since it’s reversible, I can easily disassemble everything and take it with me when the time comes to move. When friends admire my hallway’s new look, I can share my clever secret: a little creativity and the right tools can go a long way.

