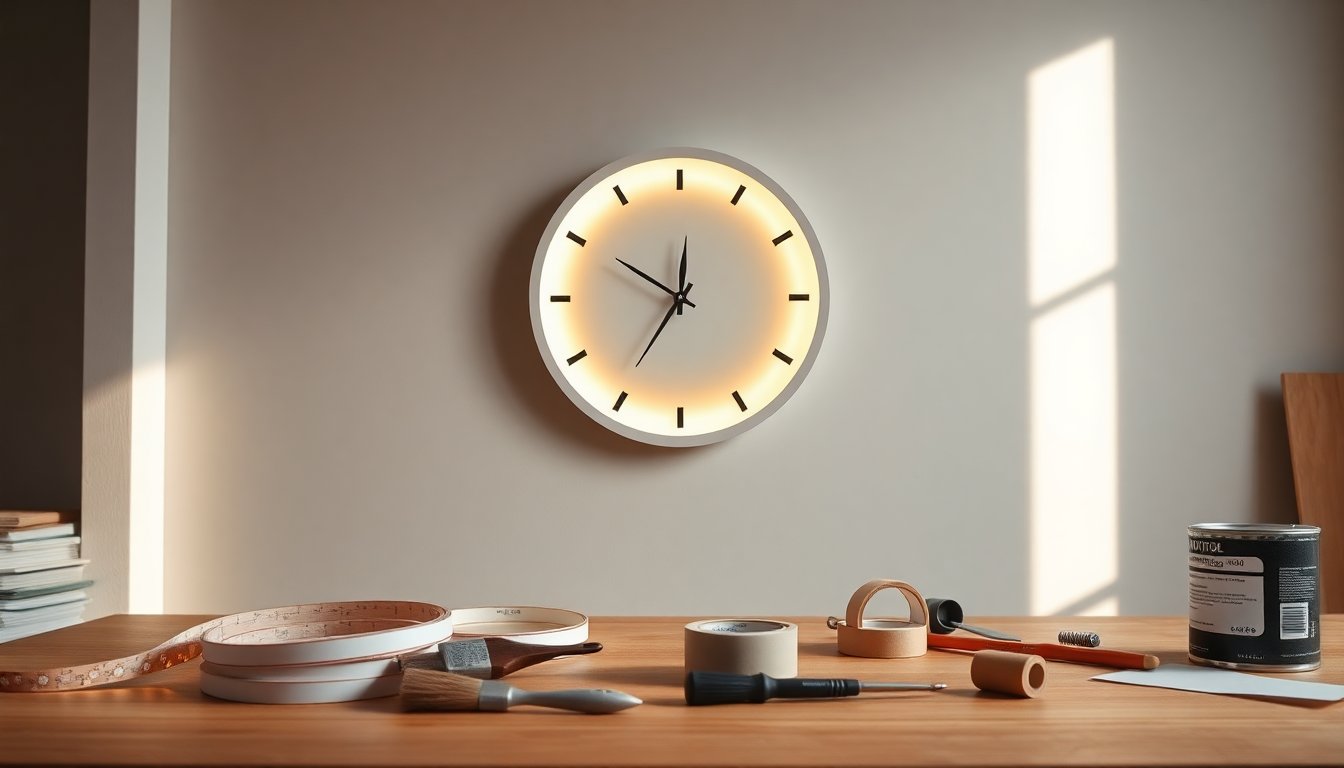
The charm of upcycling lies in taking a plain object and giving it a fresh personality. That was the idea behind maker Donald Baxter’s approach to the IKEA TROMMA clock: keep the original shape and mechanism but introduce a soft light behind the dial so the piece becomes a subtle room accent. This guide walks through the same practical sequence Donald used—disassembly, painting, diffusing light, and reassembly—so you can create a warm, backlit clock with inexpensive supplies.
What makes this project satisfying is how small changes amplify the result. With a handful of commonly available materials—paint, tape, a sealant, and 5-volt string lights—you’ll achieve an effect that looks custom-made. The backlighting emphasizes the dial and gives depth to darker paints, while contrasting hands keep the time readable. The clock’s low cost and simple mechanics make it a great first-time mod or weekend refresh for a kitchen, hallway, or bedroom.
Materials and tools you’ll need
Gather these essentials before you begin: one IKEA TROMMA clock, painter’s tape, two paint colors (one for the face and one contrasting color for the hands), clear silicone sealant or hot glue, and a set of 5-volt string lights. Optional but helpful items include parchment paper to prevent glue seepage, a small screwdriver or pry tool for the motor, and scissors or wire clips to organize the lighting. Using LEDs that do not produce heat is important for safety and longevity; avoid high-heat bulbs.
Step-by-step process
Disassembly and preparation
Start by removing the clear plastic lens, the clock hands, and the motor housing. Work slowly because the lens is prone to scratches; protect painted surfaces with painter’s tape and soft cloth. Gently pull the hands off the central axle and flip the clock to access the back spacer. Pry the motor up with a small tool if needed—take pictures as you go if you want an easy reference when reassembling. Keeping small parts organized in a tray prevents loss and makes reinstallation straightforward.
Painting, sealing, and lighting
Paint the clock face in your chosen color and consider painting the back side of the face panel as well; since the plastic is thin, a painted back prevents unwanted light bleed. Apply at least two coats for even coverage and let each coat dry fully. Paint the hands in a contrasting color so they remain visible against the illuminated face. To soften the LEDs’ output, place small dots of silicone sealant or hot glue behind the numerals; these act as light diffusers. A handy trick is to press a sheet of parchment paper taped over the front during sealing—this prevents glue from pushing through the numbers and makes cleanup easier.
Installing the lights and reassembly
Wind the 5-volt string lights around the rear spacer or secure them with small blobs of hot glue so the glow is distributed evenly. Test the lighting before final assembly and plan where the power lead will exit to stay discreet—tucking the cord behind a cabinet or along a molding keeps it neat. Before inserting the painted face back into the rim, protect the edge by taping the rim to avoid scratches. Re-seat the lens, reinstall the hands, and reconnect the motor. Let sealants and paint cure fully before hanging.
Tips, alternatives, and useful anecdotes
Donald discovered a serendipitous option when he salvaged a circular light board from a nonfunctional VAPPEBY speaker that had a dead battery; the board matched the clock’s back spacer perfectly and eliminated the need to arrange separate string lights. While that reuse worked well for him, buying a speaker solely for its light element is usually more expensive than using an LED string. For most people, inexpensive LED strips or string lights will be the most practical choice. If sealant oozes onto the face, wait until it cures and then gently scrape or sand the spot before touching up paint, or use the parchment technique to prevent migration in the first place.
This project is flexible: choose a bright color and skip the lights for a bold, flat look; or pick darker paints to emphasize the backlit effect. Whether you replicate Donald’s version or make your own spin, the TROMMA’s simple geometry rewards small interventions. Share your results or variations—other makers often contribute clever layout ideas, cord-management tricks, or alternative light sources that can improve the build. With minimal tools and a little patience, the plain TROMMA becomes a modern, illuminated accent that looks far pricier than it costs.

